Rower Form Tutorial – Tips for Maximize Row Erg Efficiency
Rower Form Tutorial – Tips for Maximize Row Erg Efficiency
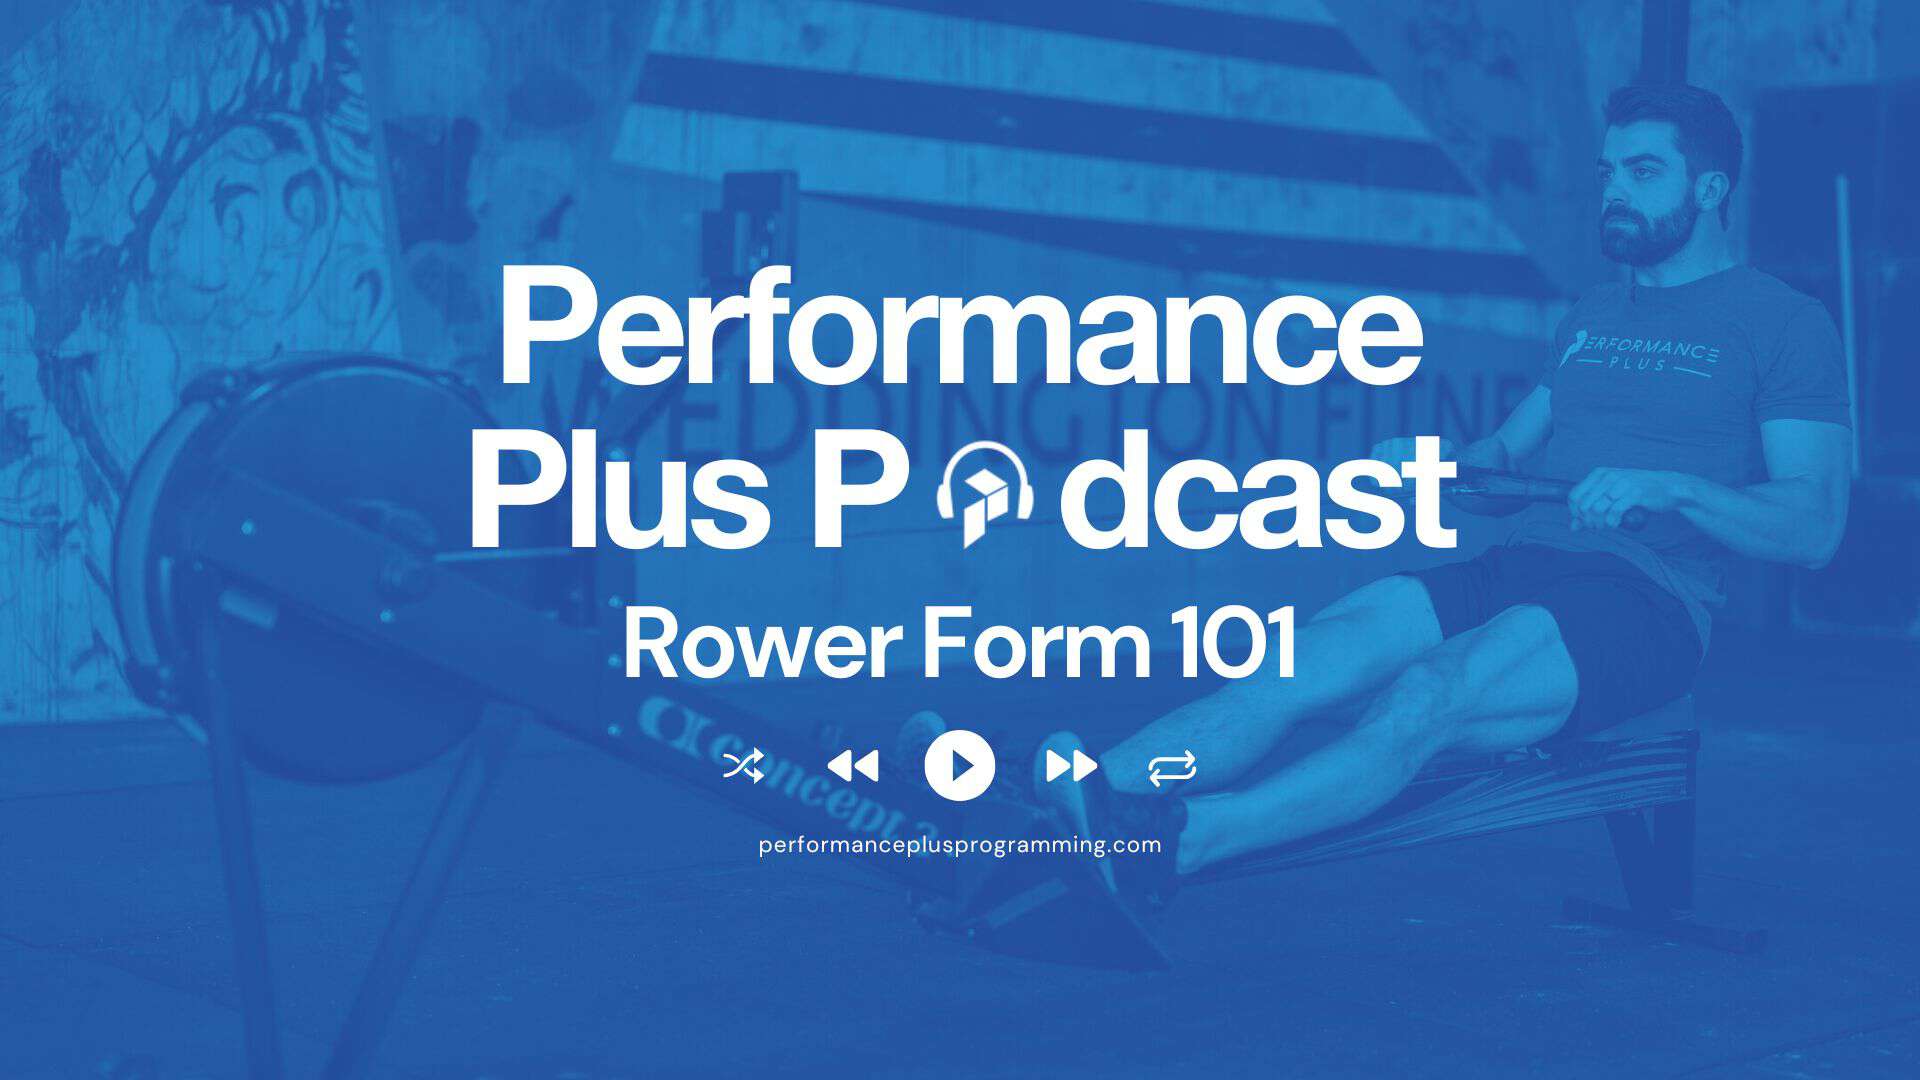
In this episode of the Performance Plus Podcast, Zach discusses something often overlooked in fitness: proper rowing form. Compared to more complex moves like snatches and overhead squats, the row look easy. But so many athletes are making small mistakes on the rower that rob them of performance. Our Rower Form 101 podcast has you covered with the best row erg form tips for success!
Video Version:
Foot Position on the Row Erg
Let’s start with getting you feet positioned on the footplate so that you have full foot contact. Position the strap across the ball of your foot—not too tight. You should be able to slide two fingers between the strap and your shoe. This setup makes it quick to hop on and off during workouts.
Row Erg Starting Position
Next, let’s dial in your starting position for when you’re at the front of the rower:
- Keep your shins vertical. It’s okay if your heels lift slightly – this is necessary for most athletes without great ankle mobility
- Lean your body forward slightly, aiming for a “1 o’clock” position on a clock.
- Stretch your arms straight forward, holding the handle loosely.
The Rowing Sequence
Rowing is all about moving in the right order. To learn perfect row erg form, we like a three step sequence.
Step 1: Push with Your Legs
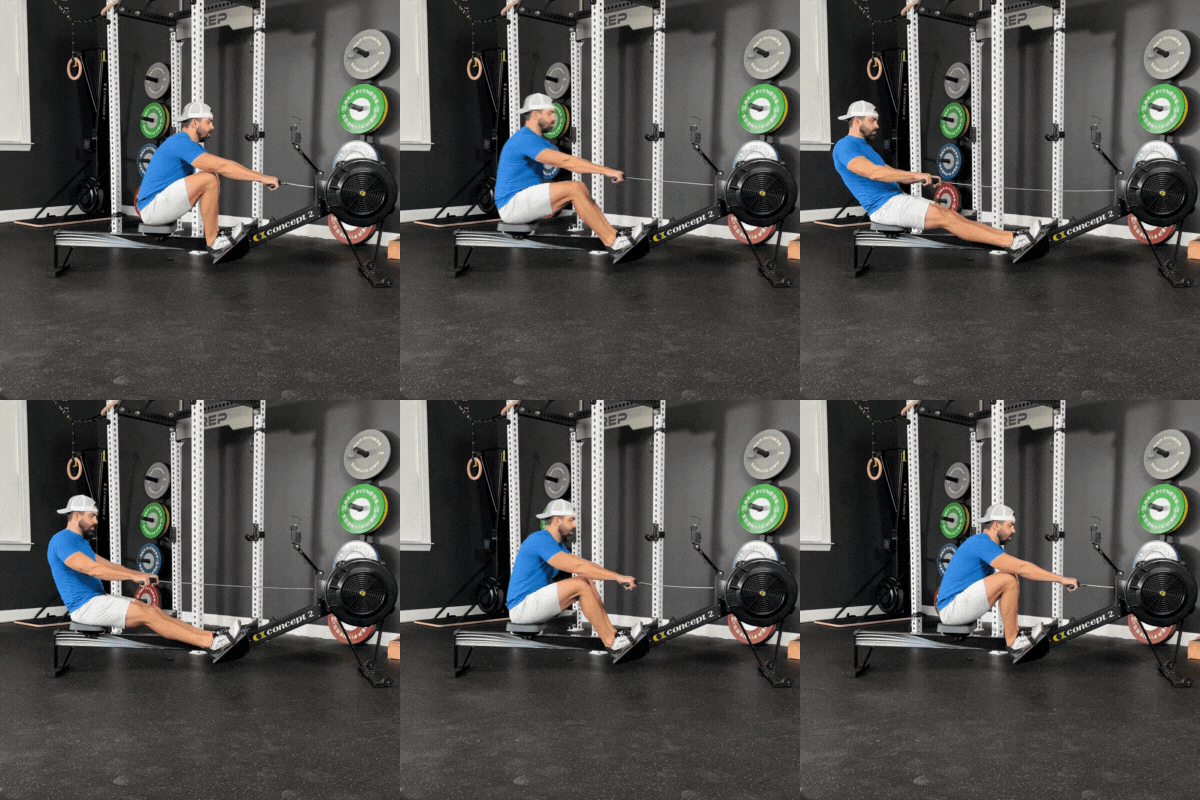
Start by pressing through the middle of your foot and straightening your knees. Focus on moving your seat and the handle at the same speed (video demo). If one moves faster than the other, your technique needs adjusting.
Don’t worry about the arm pull at this stage. Just driving with the legs, and then letting the hips naturally open up as the knees reach full extension. The hips opening with move the trunk from the forward “1 o’clock” lean to a backward “11 o’clock” lean.
Pull with Your Arms
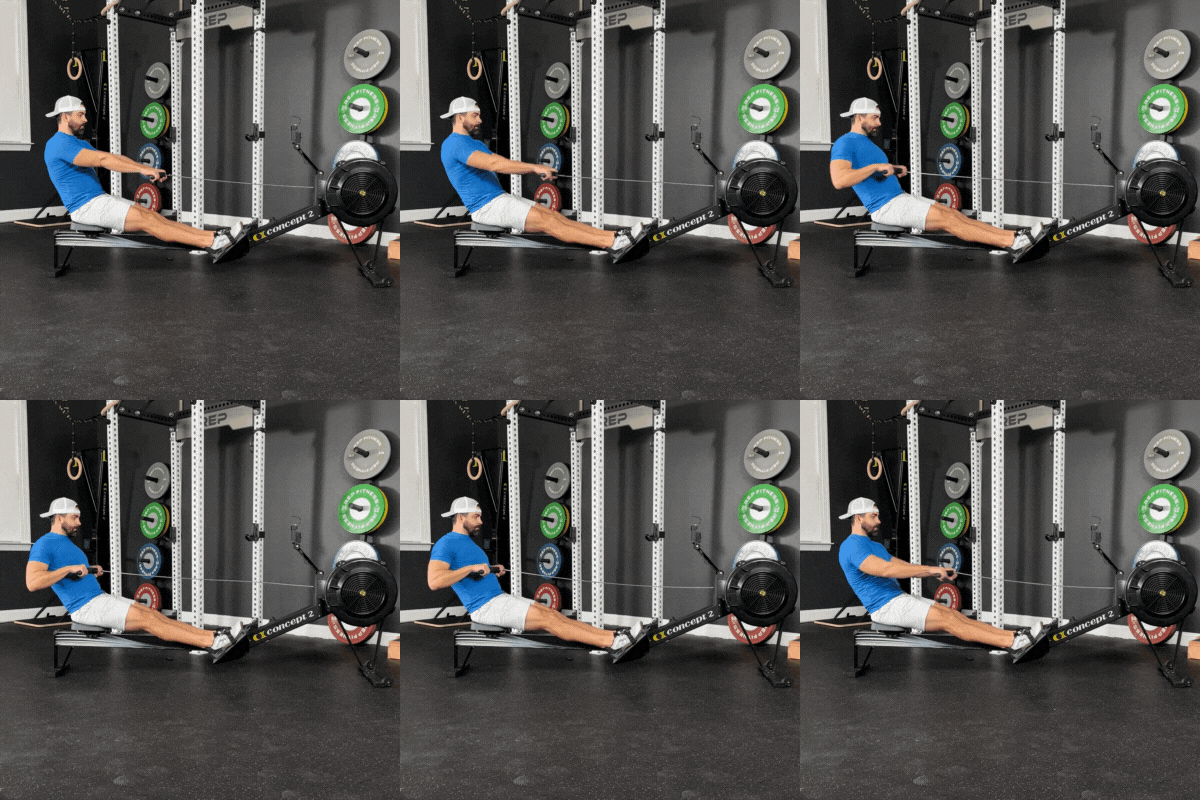
In the next step, we focus on the arm pull of rowing technique. Begin in the leaned back position, with the knees straight and torso leaned back slightly. Pull the handle aggressively to your lower chest, then pause before extending the arms back out.
Keep your elbows slightly away from your body—neither tucked in nor flared out too wide.
No leg motion happens during the portion of our row erg technique sequence.
Connecting Arms & Legs in the Row Erg
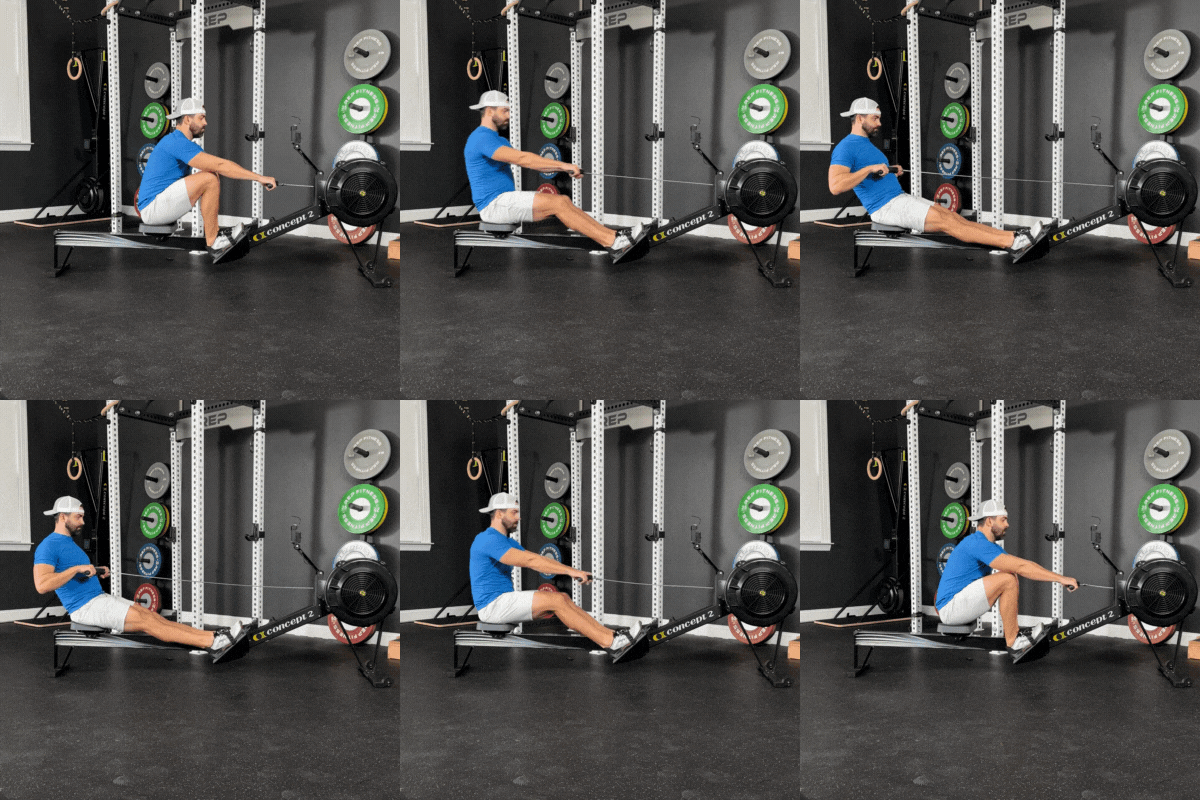
In step three, we are simply combining our first two steps:
- Start with a great leg drive
- Allow the hips to naturally open
- Then pull the handle to the lower chest
- Pause with the handle at the chest
- Extend the arms, and once the handle reaches the knees, bend the knees to return to the starting position
Fine-Tune Your Setup: Rower Drag Factor and Stroke Rate
Our final two considerations adjusting our drag factor and stroke rate.
The drag factor is the flywheel’s rate of deceleration. Navigate from the home menu, select more options, the display drag factor. Start with the damper at 1, row a few reps and look at the screen for the drag factor. Adjust the damper until you get a drag factor between 125–130.
Important note: the drag factor will be different for every row erg. Test it everytime you use a new rower.
Rowing Stroke Rate:
- Long rows: 20–25 strokes per minute for steady pacing.
- Sprints (under 500 meters): 32–38 strokes per minute for maximum effort.
- Medium-distance rows: 25–30 strokes per minute for balance.
Want to Take Your Rowing to the Next Level?
If you’re serious about improving, check out the Rower Build Your Engine Program at Performance Plus Programming. This proven plan is designed by endurance experts to boost your rowing power and endurance.
