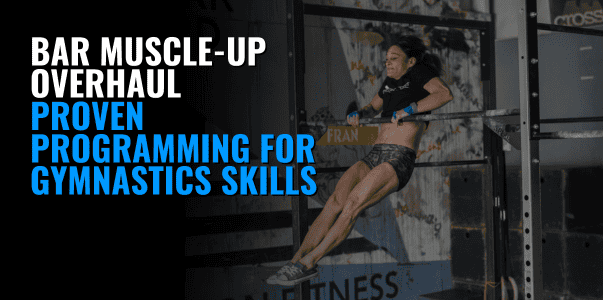
4 DRILLS TO IMPROVE YOUR KIPPING BAR MUSCLE-UP
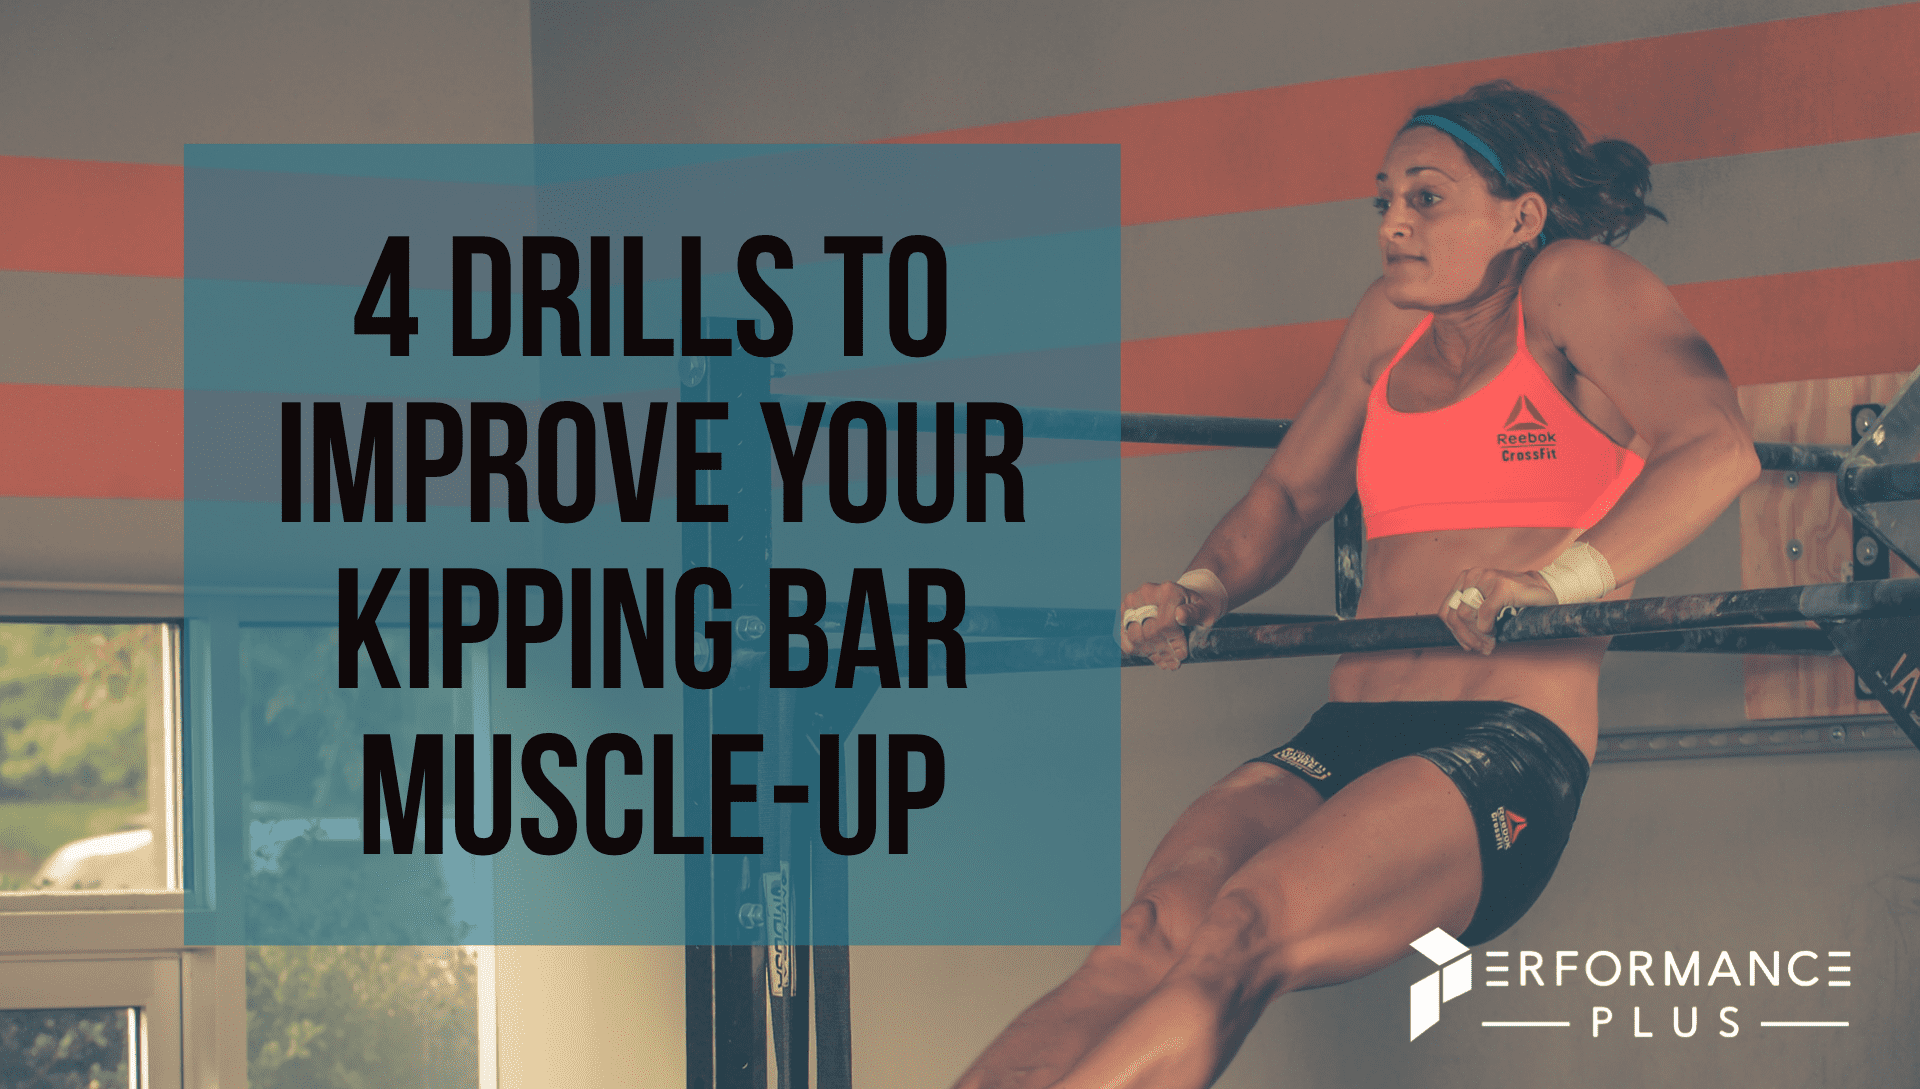
Are you struggling to improve your kipping bar muscle-up but are unsure of where to begin?
Does this sound familiar?
- I land really low in support at the top of the bar muscle-up.
- I can do a bar muscle-up, but I chicken wing every rep.
- I can do a bar muscle-up, but I cannot link multiple reps [hint: download our Linking Bar Muscle-Ups eBook].
Let’s look at all the issues above. No matter which you check off, they all contribute to your muscle-up frustration.
For example, if you have a “slump” finish and land low in the support position, it can be compared to the equivalent of the elbows bending as you catch the barbell in the snatch. ɢʀᴀᴠɪᴛʏ ᴡɪɴꜱ ɪꜰ ʏᴏᴜ ᴅᴏɴ’ᴛ ꜰɪɢʜᴛ ɪᴛ. You may think the skill is over once you reach the rig’s top. ????: It’s not over until you are at the top of a hollow support with full tension thru your body.
If you fit into any of these categories, then you need to learn how to build more tension, technique, and pulling strength.
The first two drills will help you learn how to catch in support with better tension.
BAR MUSCLE-UP DRILL 1: PLATE POPS
The plate pop drill will teach the athlete to “push down” and continue tension through straight arm pressing strength in the upper body.
DRILL 2: HOLLOW TO SUPPORT + DIPS
This drill teaches the athlete to pull around and down all the way to the finish. Adding the dip is important so the athlete can feel how to press into the support position. This way, if they land low, they won’t stop working until the top of the support.
If you chicken wing your Bar Muscle-Up, here are two great drills:
Do you have that dreaded “chicken wing” and know that eventually, it will start to wear and tear on your shoulder and cause pain? This problem needs to be addressed immediately, so you can stay injury free and learn this skill using the right muscles.
There are two common reasons for the chicken wing BMU. First, the athlete is rushing to the top and doesn’t “trust” the timing of the skill. Second, the athlete isn’t ready for an advanced skill and doesn’t have the proper foundational lat strength. Here is a drill for each issue.
DRILL 3: THE 3-POSITION BAR MUSCLE-UP
This will help the athlete be more patient and hit each skill portion. It also forces the athlete to learn tension, which is key to creating efficient power.
In position 1 of this drill, the athlete wants to feel the palms pressing down, wrists are in minor flexion [think overgrip], and we are in a hollow body position. I like the athlete to hold this position for a few seconds so they can feel all the muscles that need to fire up as they approach the pull around.
In position 2 of this drill, the athlete takes the static hold and makes it dynamic. Can the athlete maintain a tight hollow position and lock out elbows? This is crucial in learning how to finish the pull-around and not pull INTO the pull-up bar, which creates the chicken wing.
The final position is putting it all together into the support. We want our athletes to stay tight and squeeze their glutes as they press around and then down into the final support position. It is okay if the arms bend slightly once you pass through a portion of the pull-around. The higher the box, the less the athlete will have to bend their arms, so start with a high box and then lower it as the athlete builds muscle memory and tension.
DRILL 4: STRICT CHEST-TO-BAR PULL-UP ON LOW BAR
Another reason the athlete may be creating a chicken wing is that they lack strict pull-up strength. The strict strength of this skill is often overlooked. And it is easy to spot if there are holes in an athlete’s foundational strength.
Remember, the athlete needs to pull below the armpits in order to successfully transfer from a pull to a press in the Bar Muscle-Up…hence, why the strict chest-to-bar pullup is so imperative.
I love this low bar drill because it allows the athlete to learn to pull around and activate lats before you make contact with the chest. This drill also teaches the athlete to stay in the hollow body position instead of arching the chest towards the bar to make contact. We want to teach hollow with a strong core, so we create the right movement patterns for the kipping bar muscle-up.
*Remember to always secure the bar safely to the rig when doing this drill. Check the safety before putting your full weight on the equipment.
–
Love these drills and want more guidance? Check out all of your programs to help you achieve your Muscle-Up Goals!
Written by Pamela Gagnon
Co-owner Performance Plus Programming
